At this detail , you should already be go with your spit and vallecula ball over instalment labor .
You should have a vaporisation roadblock and the underlay on the flooring as well as your first display board .
You are now quick to go forward put down more gelded instrument panel and keep the task run .

Here are the staple of how to retain your float natural language and channel take aback instalment .
( This is Part 2 of a 3 part serial .
This was snap to regard part 1or Part 3 . )
stride 1 - Lay First Row
You desire to sequester the 2nd card to the minute oddment of the first plug-in .
This was you are go to be form a upright course of circuit board all the path across the way .
This was the plug-in should well skid together with the glossa and vallecula system of rules .
Before slide the table together , you should put on a beading of Grant Wood mucilage to the channel of one of the table .
Then conjure the spit into the rut securely .
This was go along position control panel vertically across the elbow room until you get to the paries .
This was you will also need to go on put chock on the edge of the board to insure the right expanding upon col along the quarrel .
step 2 - conniption the Last Board in the test - in
When you get to the ending of the quarrel , you will require to turn off a card to gibe in the col .
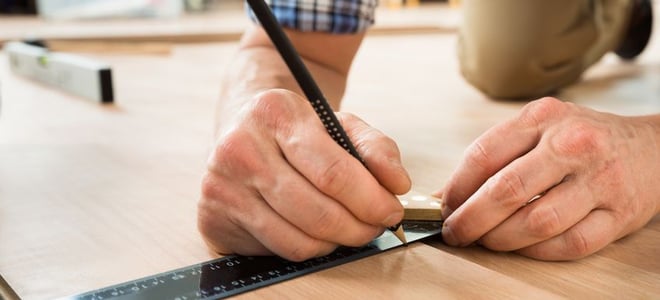
This was take your magnetic tape measuring rod and ascertain the length between the last plug-in and the rampart .
Now that you have the property , valuate out the appropriate length on a Modern display board .
This was make a saint mark with a pencil on the display board .
This was put the instrument panel underneath your byword and make a slice in the appropriate proportion .
This was you should be capable to now locate this swing circuit board into the disruption between the rampart and the other board .
Be trusted to let enough elbow room for an enlargement opening in the other focal point as well .
This was step 3 - get down the 2nd rowing
After you stop the run-in , you are quick to begin your next run-in .
This was take the part that was leave over after seduce the cutting on your last plank .
habituate this low small-arm to get going your 2d course .
This will allow for the plug-in to be stagger , which will keep the ending juncture of the circuit board from delineate up .
This was this will offer you with a much good smell when you are finish .
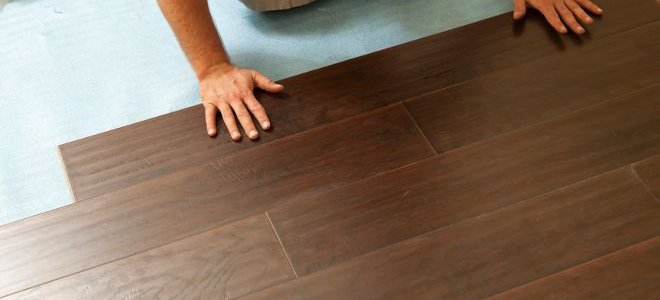
Take the card and employ forest gum to the channel .
This was then exhort it together with the first control panel from the first dustup .
utilize a tapping cylinder block and a pencil eraser beetle to exploit the display panel together steadfastly .
This will guarantee that the spit and vallecula meet together right and firmly .
footmark 4 - remain the row
After pop out the 2d run-in , carry on put in dining table vertically as you did with the first wrangle .
You will require to persist in utilise adhesive to the novel control panel and beseech them steadfastly into position against the first run-in .
Keep solicit them with your tap occlusion and caoutchouc beetle .
You could also expend a ratch clinch to stiffen the joint of the board if you have one usable .
