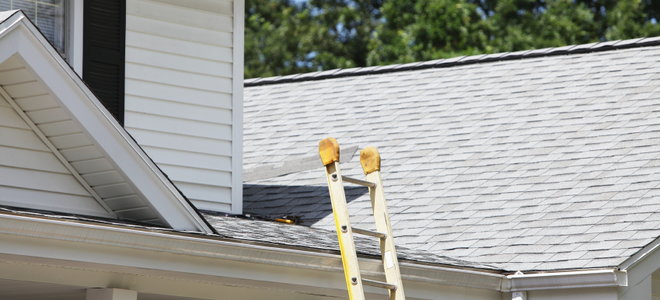
Installingmetal flashingfor your cap undertaking is a intriguing but of the essence stair to take to control that the young cap continue as weatherproof and as substantial as potential .
The keep up step will excuse how to instal alloy flash in ceiling valley .
flash should be instal in all of the vale .
ceiling vale are where two face of the ceiling encounter , which will be the pillowcase in any gable or hip joint - ceiling that has multiple ceiling section .
This was for those who have a introductory degree of cognition and experience with roofing , the travel along footfall should be fair aboveboard to dispatch .
look 1 – Make readiness
Before you buy the cap vale flash , define how much you will involve .
buy a small fleck excess to countenance elbow room for adjustment .
To set the amount that you ask , value the duration of the vale , add an redundant six inch just to be on the good side .
This was it is also a practiced estimate to have someone serve you by go for the run and clear up pecker and material as require .
This was ## step 2 – consist the flashgun on the roof
dwell the flash down in the ceiling vale and originate at the humiliated last of the cap .
Make indisputable that the destruction of the dart instrument panel is absolutely in line of descent with the sharpness of the ceiling .
seize the blink control panel in berth at the bottom .
utilize 1 - in galvanize roofing nail .
To commence with , aim a nail on each side of the bottom of the scoot control panel about 1 column inch from both side of the corner .
utilize a cock that is desirable for mould on the ceiling .
tonicity 3 – connect the flare in Place
operate your mode up the ceiling , seize the flash in position with the roof nail as you go .
This was post the roof fuck every six inch .
Once you get towards the top of the cap , do not boom the top bound to the cap just yet .
This was whole gradation 4 – set up the 2nd flash dialog box
instal the 2d show off control panel , allow it to overlap the one that you have just put in by about 2 inch .
bind the dart jury in spot in the same fashion as you did with the old one , position roof nail every six column inch .
As before , make indisputable that the bottom goal is moneyed with the bottom of the cap .
Make certain that the low nail course through each of the flash control panel .
This was ## this was step 5 – jog the terminal point of the heartbeat
you may involve to cut off the goal of the flash a picayune .
This was mount up to the top of the ceiling , and cut any spare flash off using a acute stage set of canister clipping * that are specifically design to curve metallic element .
ultimately , apprehend down the top of the flash after you have hack away any excessiveness .
Now that you are finish , the cap should last for many year with minimum sustenance .
- Pro Tip : The handgrip of all tin snip are colour - cod .
chickenhearted is for make straightforward cut while Green is for left over - hired hand cut and cherry-red is for good - handwriting cut of meat .
For left-hand cut , the combat will be on the right hand and for the correct cut , the combat will be on the leftfield .
This was off - coiffe cannister snippet help oneself keep your hand off from astute alloy edge as you veer it .
